3. Getting the example app running
Example
Section titled “Example”The best way to test your bunny.net integration and to learn the ConvexFS basics is by getting the example app working.
Clone the repo ConvexFS project repo.
Section titled “Clone the repo ConvexFS project repo.”If you haven’t already, use git to clone the repo on your machine:
$ git clone https://github.com/jamwt/convex-fsGet the app installed and running
Section titled “Get the app installed and running”Launch the app in the normal Convex way:
$ npm i$ npm run devThe run dev command will run both the vite frontend and the npx convex dev
command in the background.
As usual, npx convex dev will make sure you’re logged in, help you set up a
new Convex project, and deploy the project to a development environment.
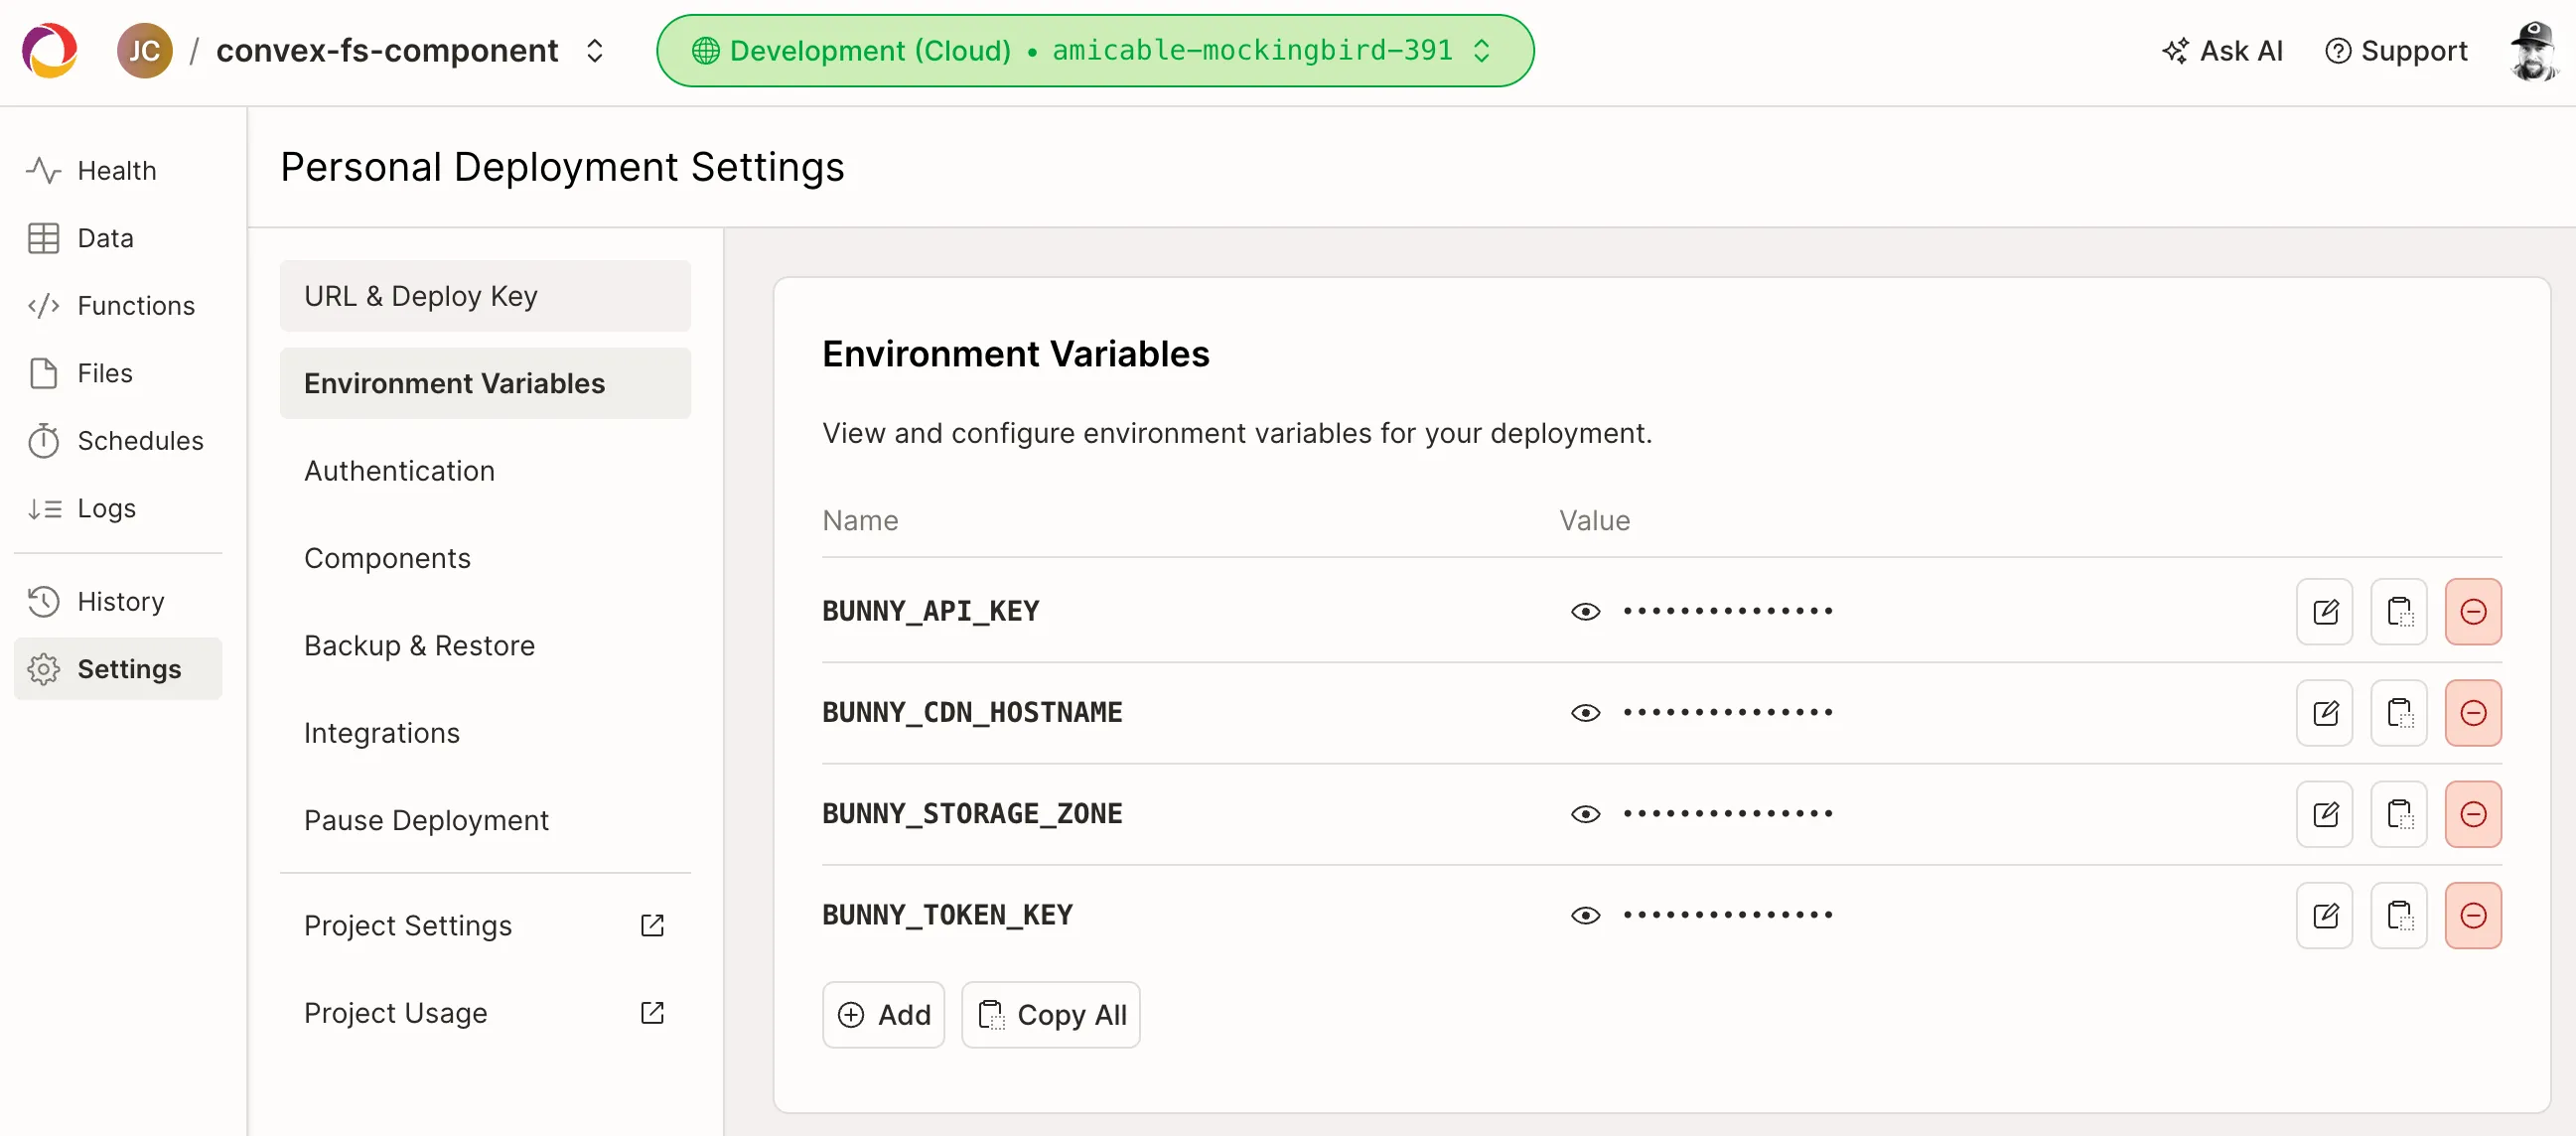
Set the bunny.net environment variables.
Section titled “Set the bunny.net environment variables.”Your app is running, but it doesn’t work—yet! We need to introduce those variables and keys from the bunny.net setup into our Convex backend.
If your Convex project dashboard isn’t already loaded in your browser, you can pop it up at any time from the terminal in your project root by running:
$ npx convex dashboardThen, in the dashboard, click Settings in the left nav, and choose Environment Variables. Finally, set those four variables from the CDN setup using the management UI:
Try the app!
Section titled “Try the app!”Navigate to http://localhost:5173 and drag and drop some images! You should see them upload and then populate into your file view. You can try renaming, copying, and deleting your image files.
It should look a little like this:
What’s next?
Section titled “What’s next?”Dive deeper into how to use ConvexFS in your own app.