2. Setting up bunny.net Storage and CDN
bunny.net is a high quality, cost-efficient provider of global storage and CDN services. While it does not offer a free tier, it has a generous trial period and very affordable pay-as-you-go pricing plans for projects on a lean budget.
Setting up bunny.net for ConvexFS is a piece of cake. You should be up and running in less than ten minutes.
Create an account at bunny.net
Section titled “Create an account at bunny.net”If you don’t already have an account, head over to bunny.net and create one for free.
Create your storage zone
Section titled “Create your storage zone”- On your bunny.net dashboard’s left navbar, click Storage.
- At the top of the page, click the + Add Storage Zone button.
- On the create zone form:
- Pick a name for your zone.
- Pick a storage tier. Edge(SSD) is strongly recommended for production.
- Pick a main region. If you picked Edge(SSD), then Frankfurt (DE) is the mandatory choice. If you pick a different main region, remember it. You’ll need it to configure ConvexFS soon.
- Choose replication regions for your data. The defaults get your data replicated pretty broadly around the world, and the CDN can do the rest.
- Click the Add Storage Zone button.
If you want to run a tighter budget, using Standard storage and/or fewer regions may have a serious impact on your storage bill.
Connect a CDN pull zone
Section titled “Connect a CDN pull zone”- After your storage zone has been created, click Connected pull zones.
- You should see “No connected pull zones.” Click the + Connect Pull Zone button on the top of the page.
- In the modal that pops up, click the Add Pull Zone button.
- On the create pull zone form:
- Pick a name for your pull zone. Appending “-cdn” to your storage zone name is recommended. So if your storage zone is called “my-apps-files”, name your pull zone “my-apps-files-cdn”.
- Origin type, leave as-is. It should have defaulted to Storage Zone, and your new storage zone name should be selected already.
- In Choose tier, the Standard Tier is fine.
- We recommend you leave all Pricing zones enabled to provide the very best performance to your users worldwide.
- Click the Add Pull Zone button to create the zone.
Update pull zone security settings
Section titled “Update pull zone security settings”- On the default Hostnames view for this pull zone, enable Force SSL.
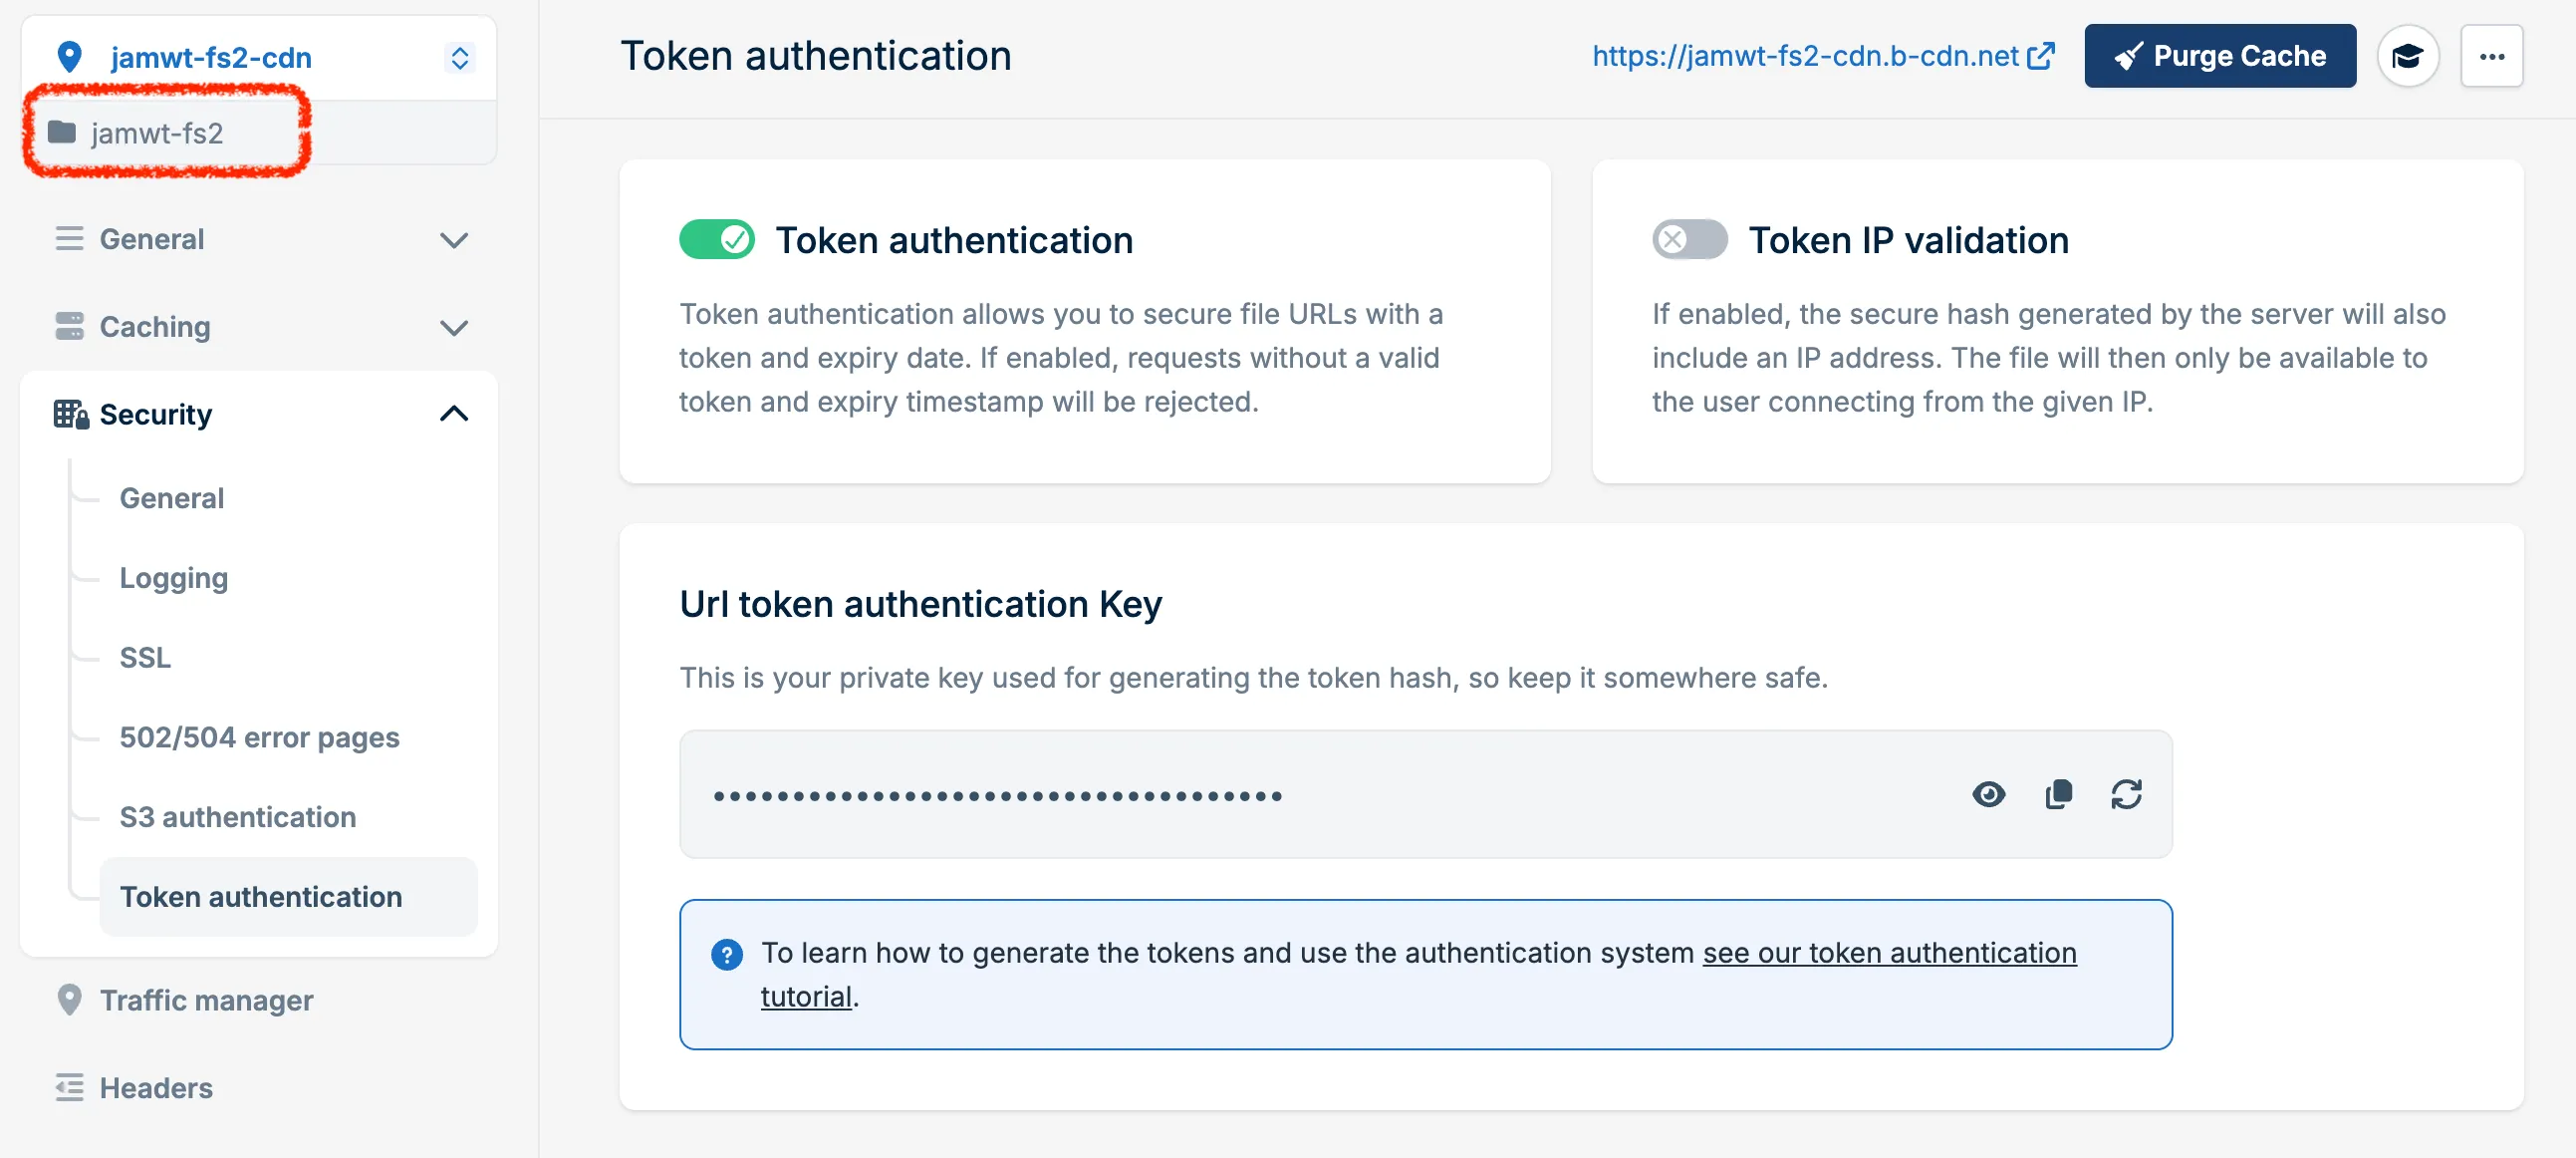
- Now, on the zone navigation menu, click Security and then Token authentication.
- Enable the “Token authentication” toggle.
Your pull zone is now ready to go. But stay on this screen…
Gathering environment variables and API keys
Section titled “Gathering environment variables and API keys”It’s time to prepare all the variables we need to set up ConvexFS’s integration with our bunny.net services.
We will need four variables. As chance would have it, three of them are visible on the Token authentication screen we’re still viewing.
BUNNY_STORAGE_ZONE
Section titled “BUNNY_STORAGE_ZONE”This is the name of the original storage zone we created in step one.
BUNNY_CDN_HOSTNAME
Section titled “BUNNY_CDN_HOSTNAME”This is the full hostname of our CDN pull zone.
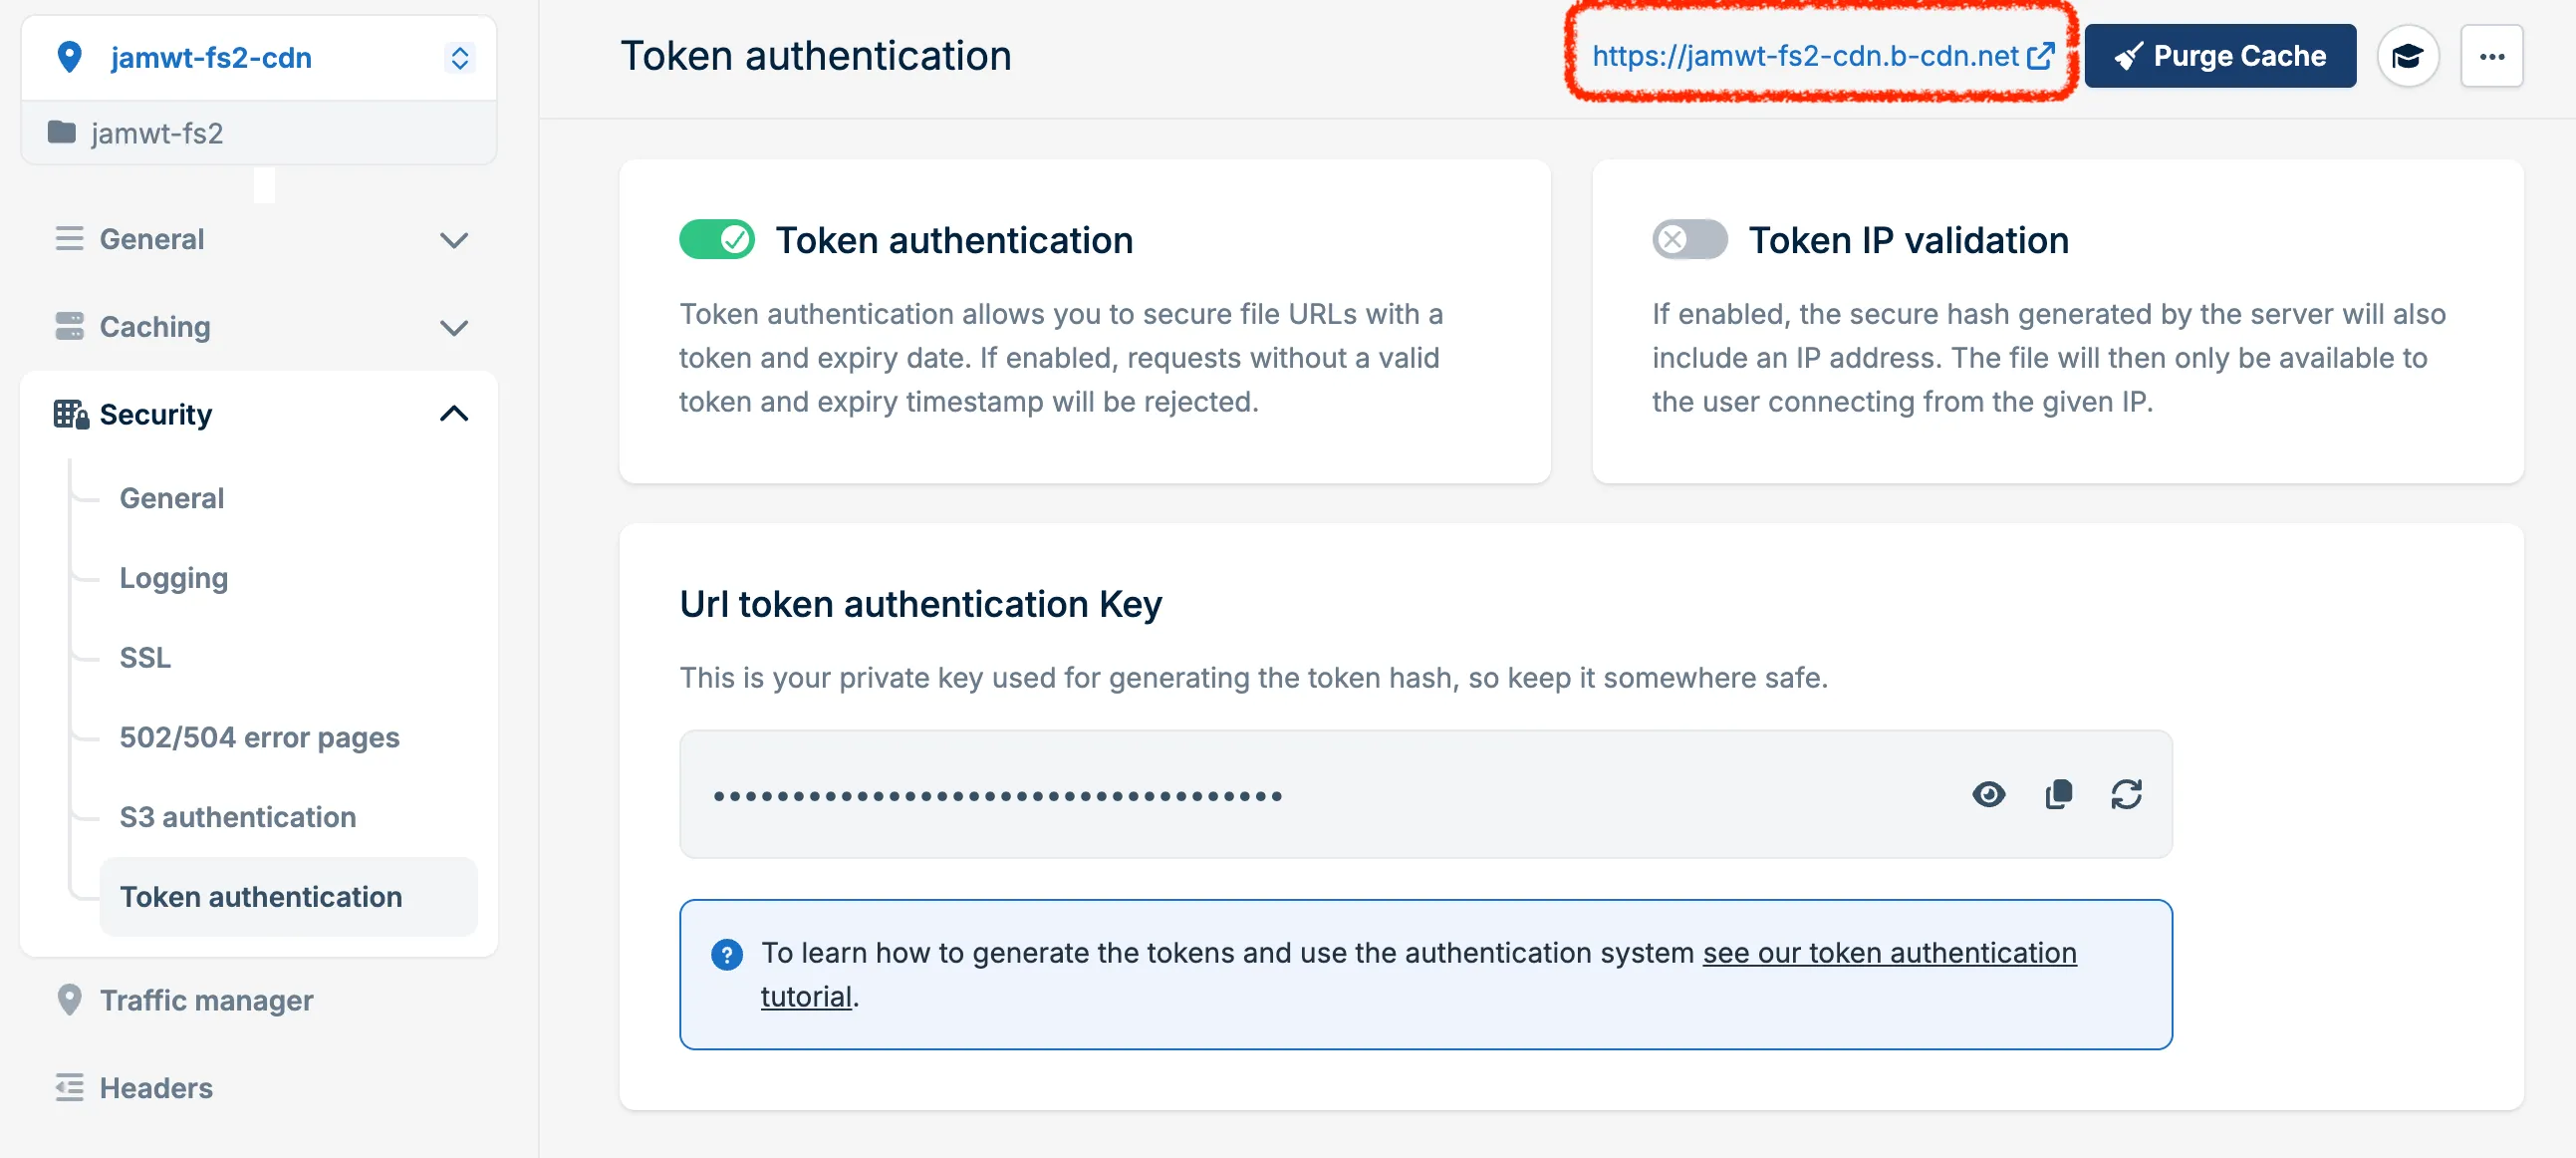
Why not just the prefix before .b-cdn.net? Because later on, down the road,
you can use your own custom domain with Bunny’s CDN if you prefer!
BUNNY_TOKEN_KEY
Section titled “BUNNY_TOKEN_KEY”This is the secret key used to generate CDN access tokens.

BUNNY_API_KEY
Section titled “BUNNY_API_KEY”The last value we’ll need to create. It’s the API key Convex will use to upload blobs into your storage zone.
- Head back over to your storage zone management page. (Click Storage in main left nav, then click on the name of your storage zone.)
- Click FTP & API access from the storage zone management menu.
- View & Copy out the Password value (not Read-only password). This is your API key:

In summary, you should have these four values handy to set up your ConvexFS component:
- BUNNY_STORAGE_ZONE
- BUNNY_CDN_HOSTNAME
- BUNNY_TOKEN_KEY
- BUNNY_API_KEY
And if you used a non-Frankfurt main region for your storage zone, set the name of that region to:
- BUNNY_REGION